



CI/CD Cross Account Pipeline
What is CI/CD?
CI/CD is a method of delivering apps to customers on a regular basis by incorporating automation into the stages of app development. Continuous integration, continuous delivery, and continuous deployment are the three main concepts associated with CI/CD.
CI/CD can be visualized as a pipeline in which new code is submitted on one end, tested in stages (source, build, test, staging, and production), and then published as production-ready code on the other.
This article, however, focuses on a different model, in which CI/CD pipelines reside in an one AWS account called tools, and carry out deployments across other AWS accounts. This concept is called CI/CD cross account pipeline.
To perform this functionality, we need two accounts:
Account acct_pipeline — Account where you have created the pipeline. And for pipeline creation, refer here.
Account acct_codecommit— Account where you have created the code commit repository.
List of actions need to be done in acct_pipeline
-> Create KMS Key
AWS Key Management Service (AWS KMS) enables you to easily create and manage cryptographic keys, as well as control their use across a variety of AWS services and in your applications.
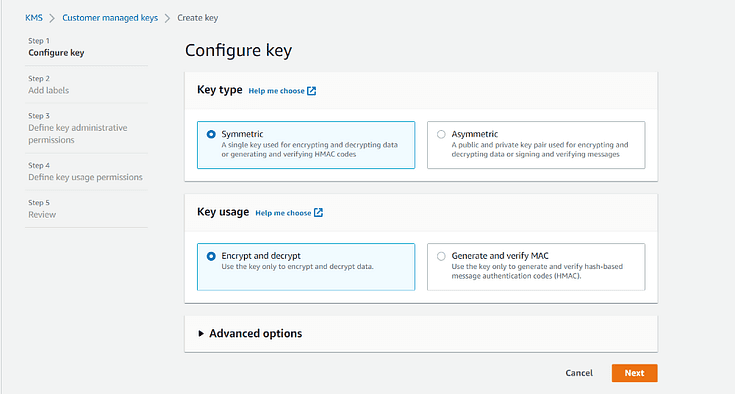
Open the AWS KMS console and on the left, choose Customer managed keys.
Choose Create key. In the Configure key, leave the Symmetric default selected and choose Next.
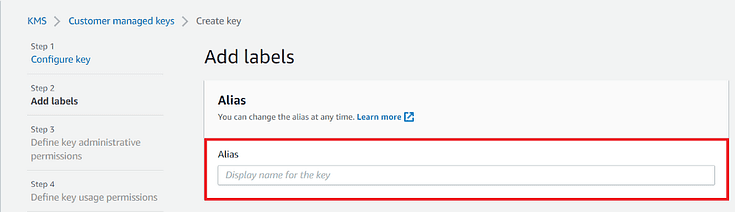
3. Then, Under Add labels give Alias name for the key.
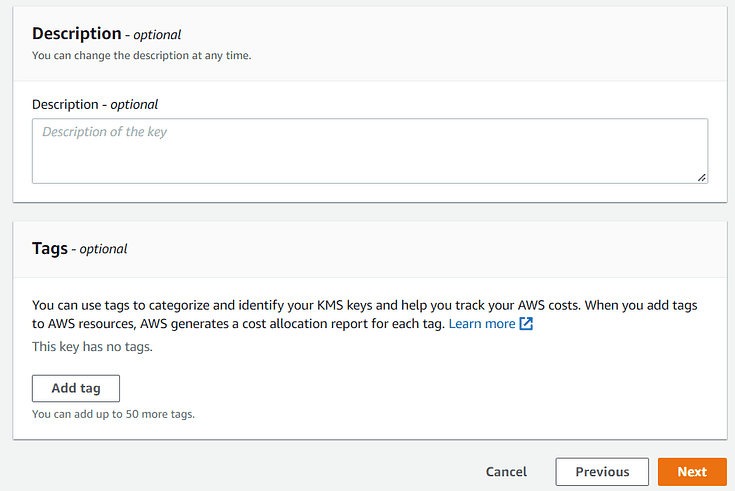
Note: Description and tags are optional.
Then choose Next
4. In Define Key Administrative Permissions, choose your IAM user and any other users or groups you want to act as administrators for this key, and then choose Next.
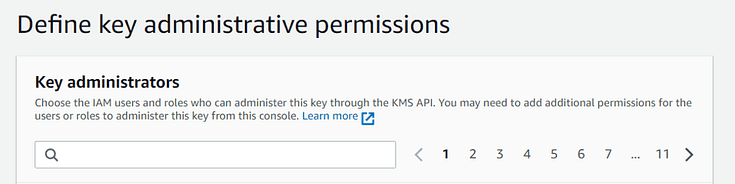
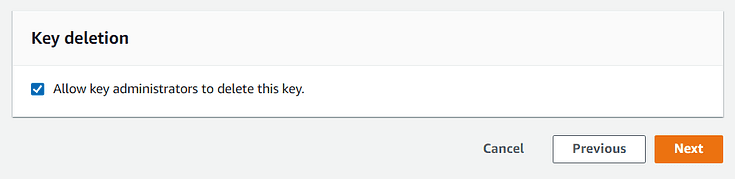
5. In Define key usage permissions, choose your IAM user and under Other AWS accounts Choose Add another AWS account. Type the account ID of acct_codecommit to complete the ARN, and then choose Next.
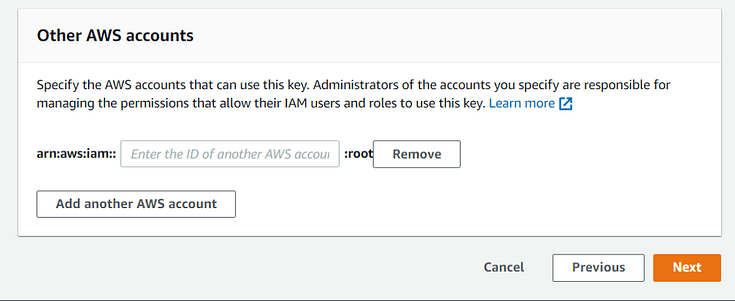
6. Under Review, make sure that you have entered values are correct and then choose Finish
-> Create S3 Bucket and add acct_codecommit access.
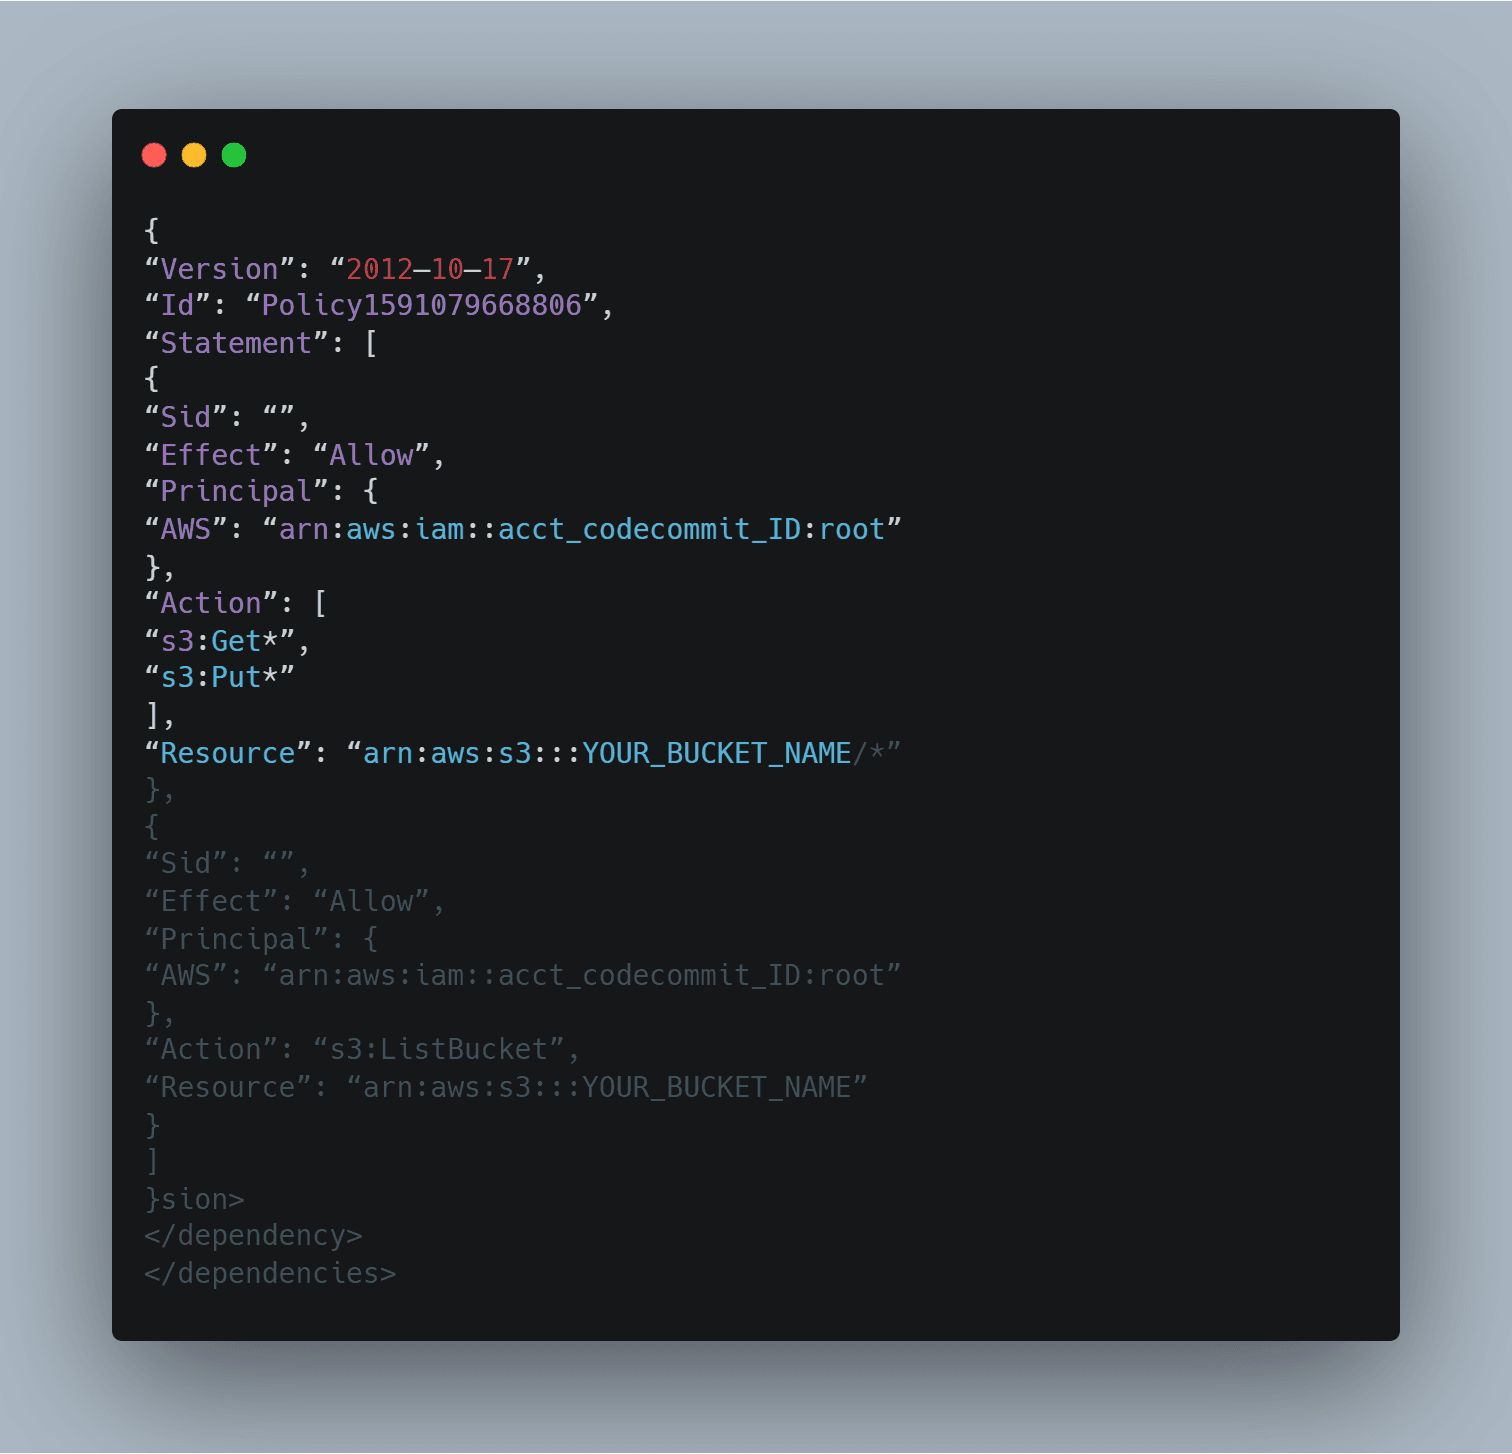
Create an S3 bucket for Pipeline to store Artifacts and add the following bucket policy.
Open the S3 console choose Create bucket

2. Under the General configuration, give the bucket name and under Object Ownership choose ACLs disabled (recommended)
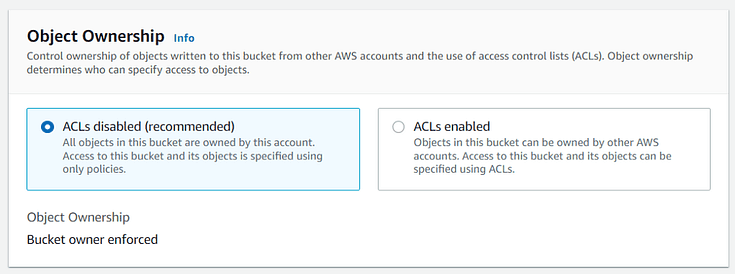
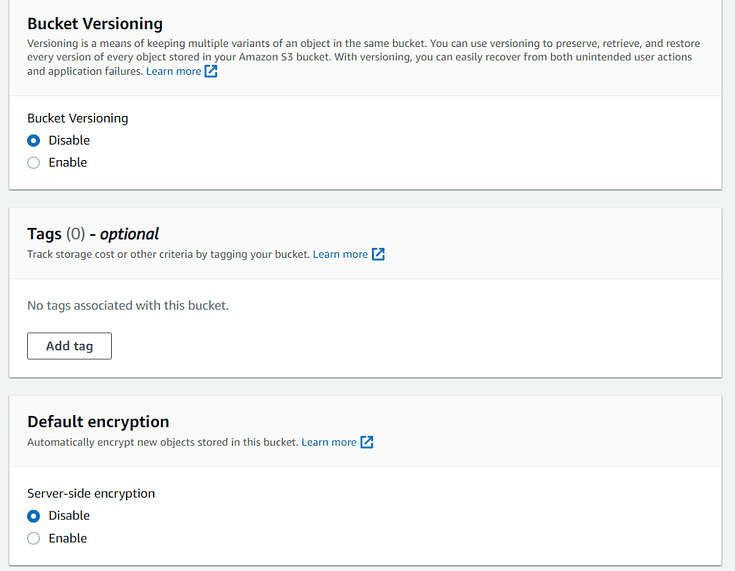
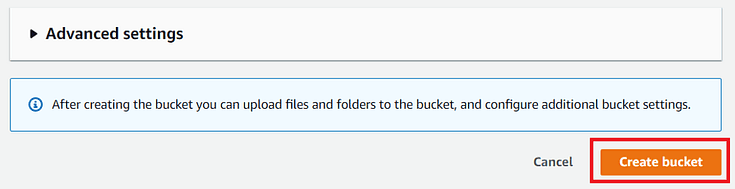
3. Choose the default values for bucket versioning ,tags ,default encryption and then choose Create bucket.
4. Open the S3 bucket that you created and navigate to the bucket policy.
Permissions >Bucket Policy > Add the following code and replace the values.
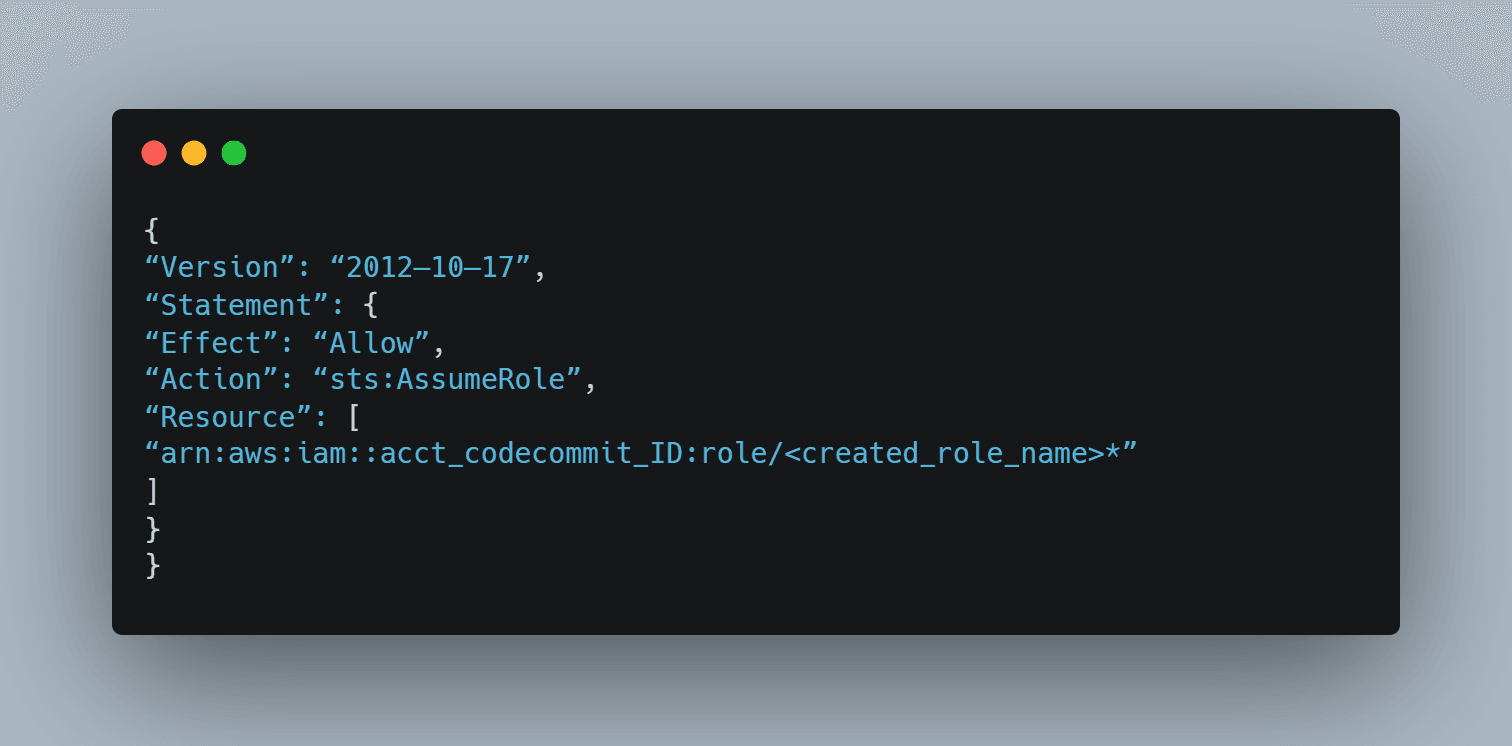
Create Code Pipeline Service Role and policy to access Code Commit from another account:
Add a policy to your Code Pipeline service role so you can get access to acct_codecommit and the Code Commit repositories:
Now, We added all configurations in acct_pipeline to access resources from another AWS account.
List of actions need to be done in acct_codecommit
-> Create IAM Policy for cross-account access.
1.Open the AWS IAM console and on the left, choose Policies > Create Policy.
2. Select Json and add the following code.
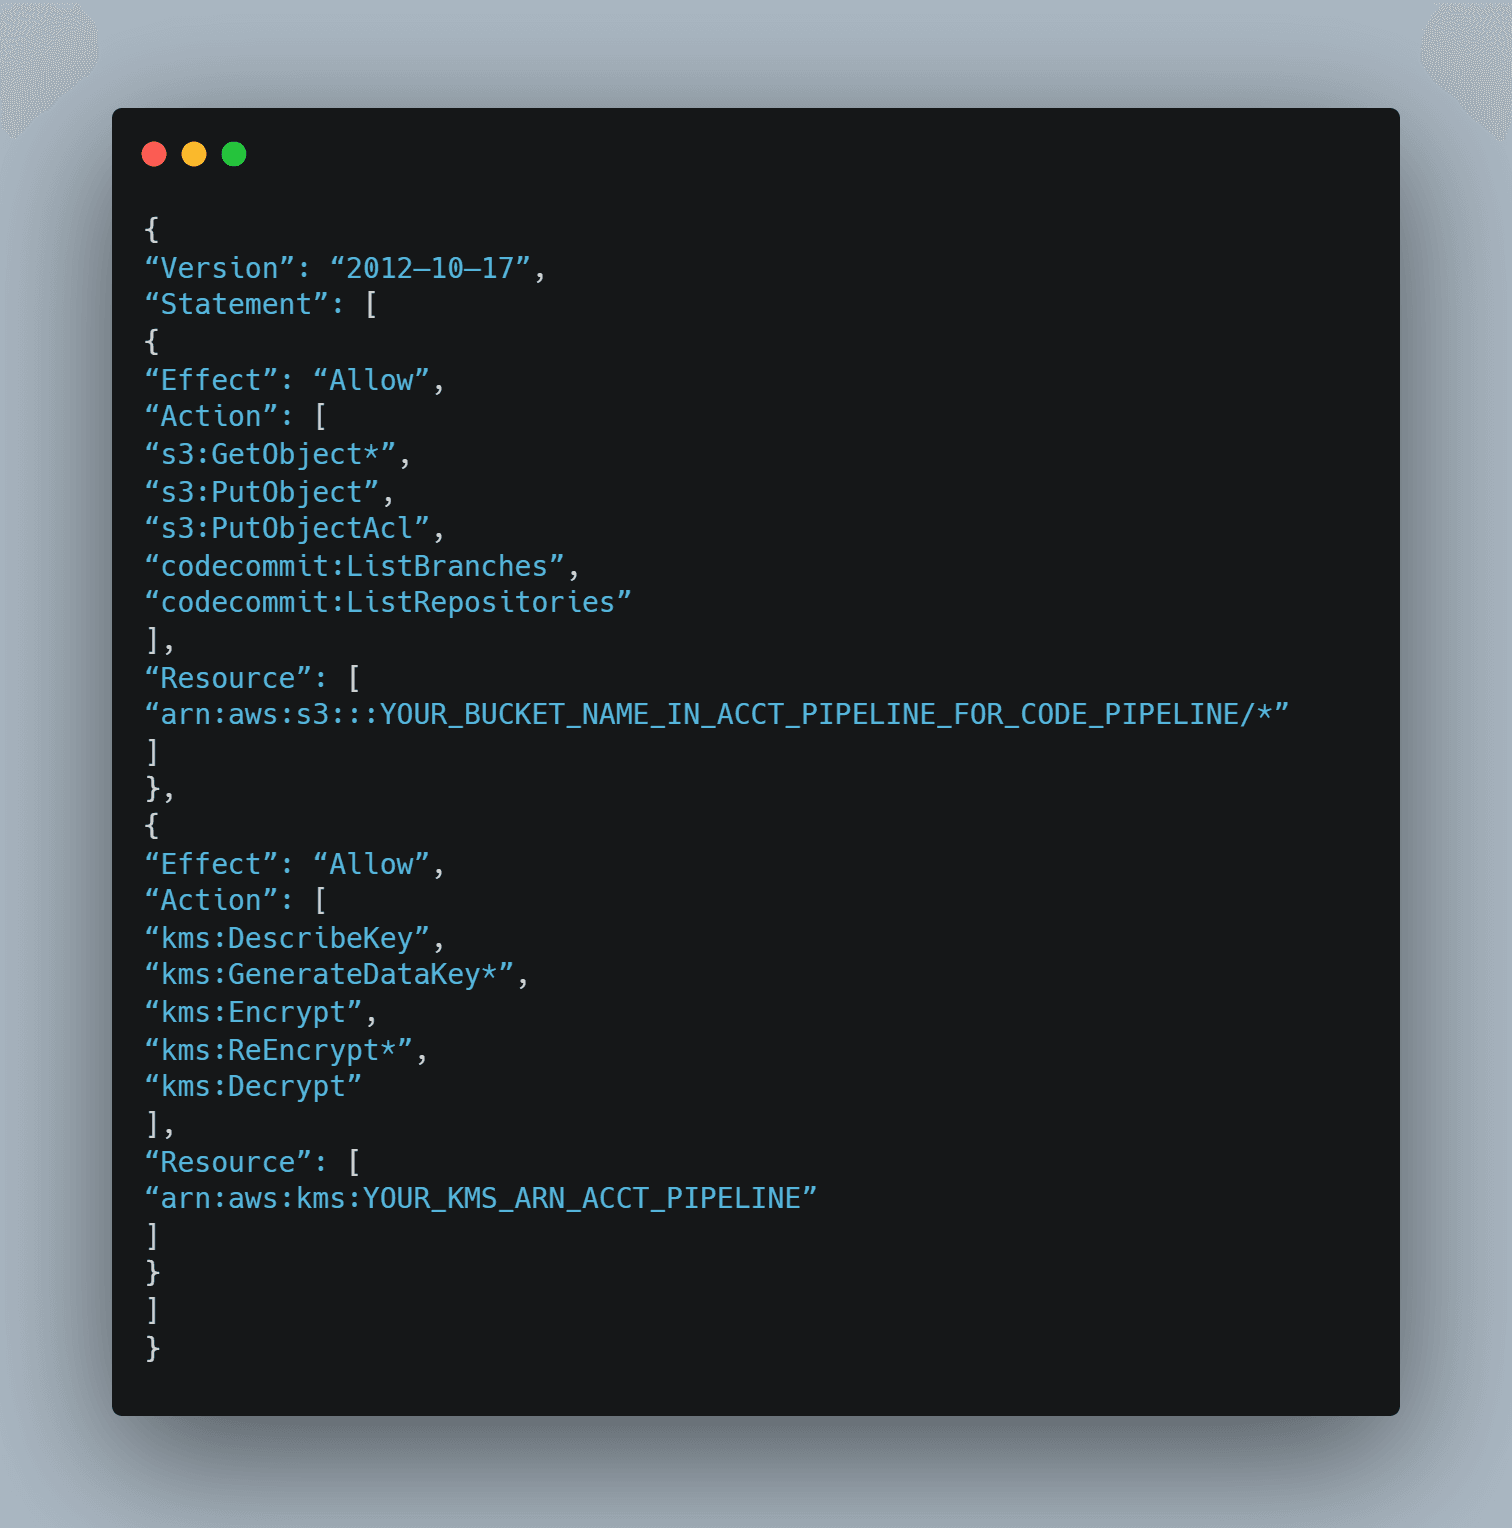
3. Add Proper name and choose Create Policy.
Create an IAM Role for cross-account access.
Open the IAM console and on the left, under Access management choose Roles

2. Select Another AWS Account and enter an account ID of acct_pipeline and click Next
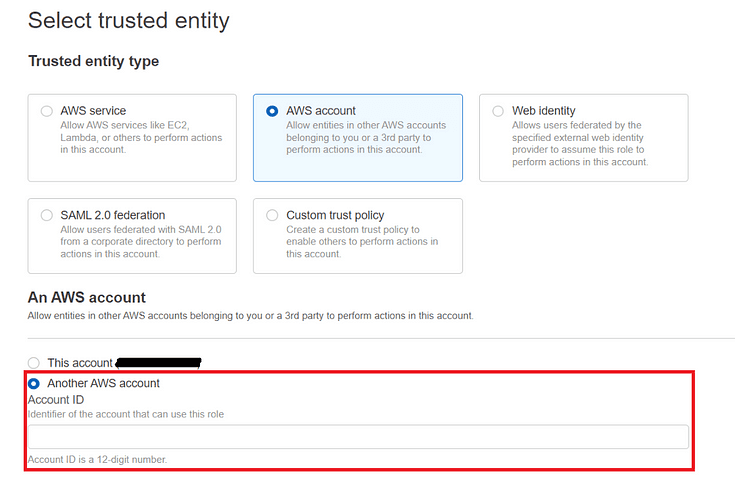
3. Search and select AWSCodeCommitFullAccess as well as our Create policy in the above step and choose Next .
4. Enter the proper role name and click Create role Now we are ready to create a pipeline file (JSON) to do the cross-account-pipeline
Copy the following code and store it as *.json file
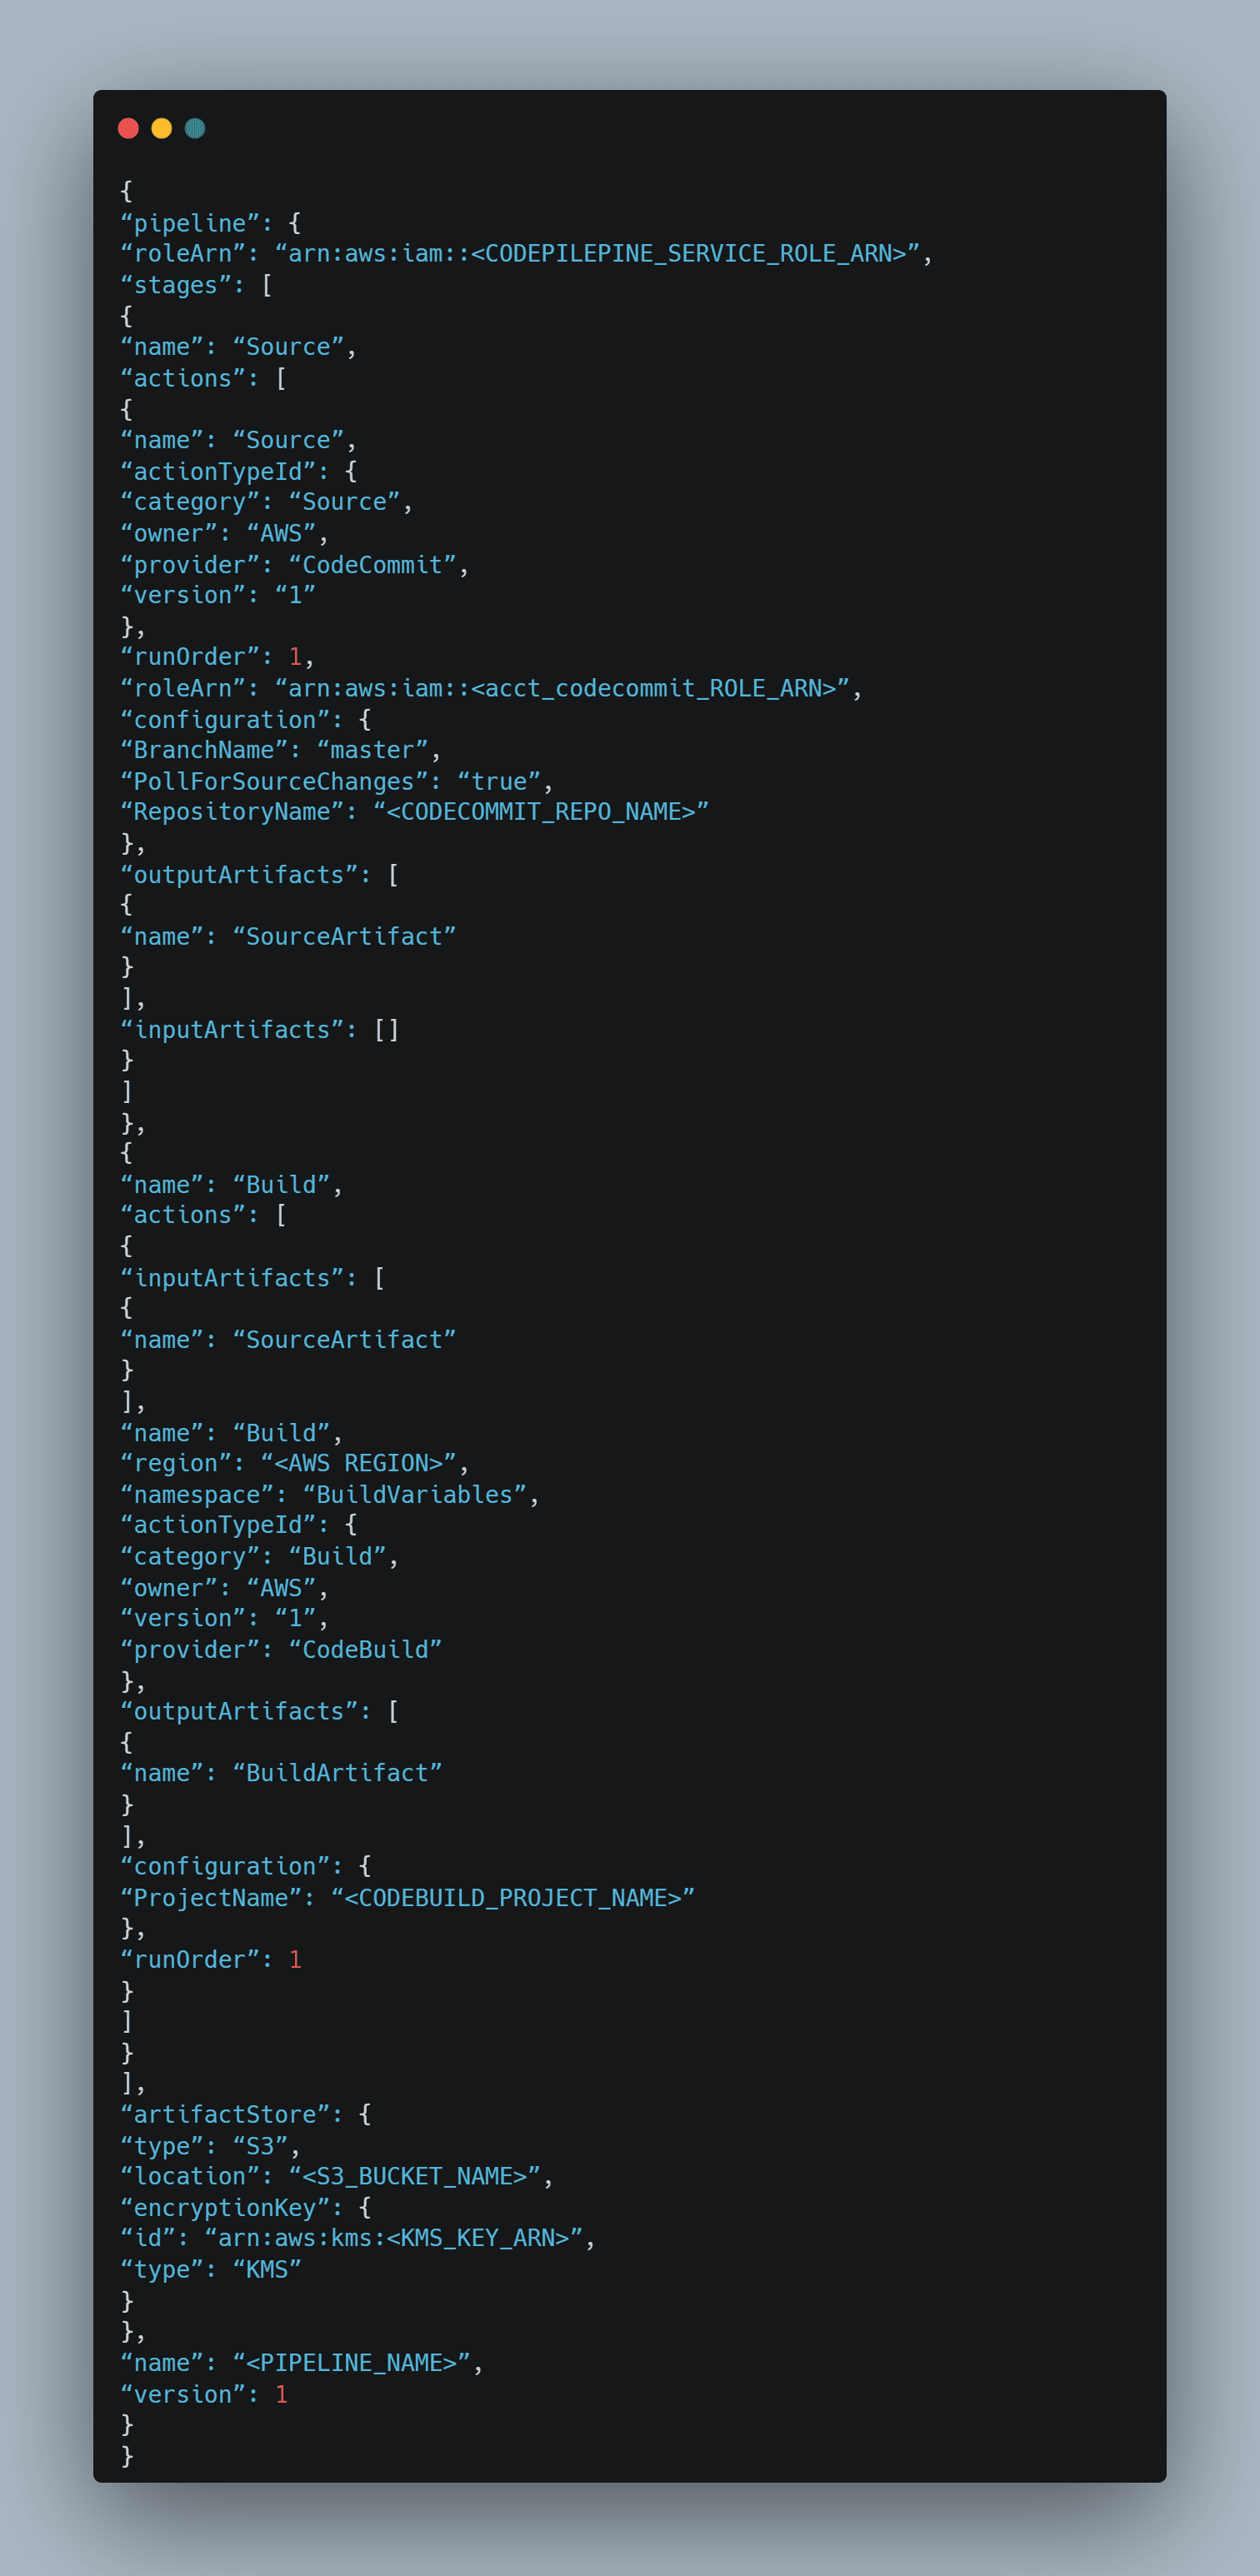
Now, go the terminal and run the following command
aws codepipeline create-pipeline — cli-input-json file://<File_PATH>.json — profile <AWS_USER_PROFILE> — region <AWS_REGION>
Where
<File_PATH> — path of the json file that you have created
<AWS_USER_PROFILE> — acct_pipeline user
<AWS_REGION> — acct_pipeline region
It will Create the Cross AWS Account Pipeline and access Code Commit from another AWS Account
Suppose if you are using the existing created pipeline, use the below command to update the pipeline settings.
aws codepipeline update-pipeline — cli-input-json file://<File_PATH>.json — profile <AWS_USER_PROFILE> — region <AWS_REGION>
Note: If you want to start the pipeline in CLI, use the below command.
aws codepipeline start-pipeline-execution --name your_pipeline_name --region your_aws_region --profile your_aws_profile
Now pipeline will triggered automatically after you check in the project changes.