


Getting started with Selenium WebDriver
Selenium is an open-source tool that automates web browsers. It provides a single interface that lets you write test scripts in programming languages like Ruby, Java, NodeJS, PHP, Perl, Python, and C#, among others.
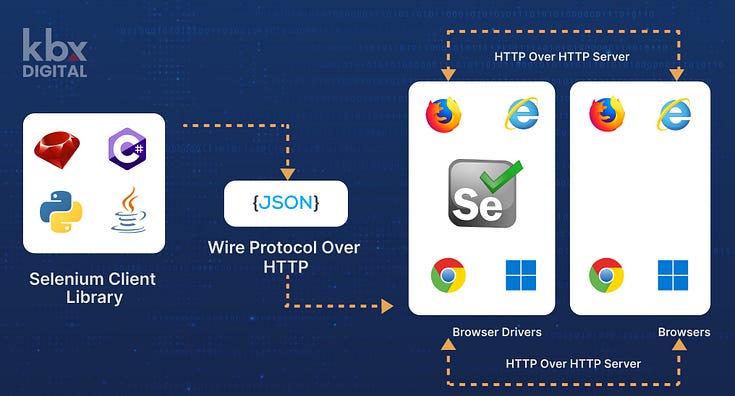
Below is the communication flow between WebDriver and Broswer :
For each Selenium command, a HTTP request is created and sent to the browser driver.
The browser driver uses a HTTP server for getting the HTTP requests.
The HTTP server determines the steps needed for implementing the Selenium command.
The implementation steps are executed on the browser.
The execution status is sent back to the HTTP server.
The HTTP server sends the status back to the automation script.
Two major things we need to do to get started
1)JDK
2)Eclipse
1) Install Java on your computer.
Download and install Java Software Development Kit (JDK) from the below link.
2) Install Eclipse IDE
Download and install Eclipse editor from the link.
3) Create new maven project inside Eclipse
File → New → Others → Search for maven project → Next
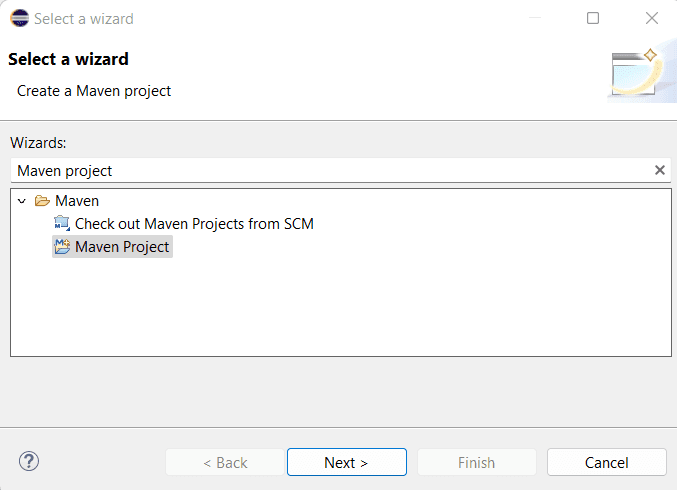
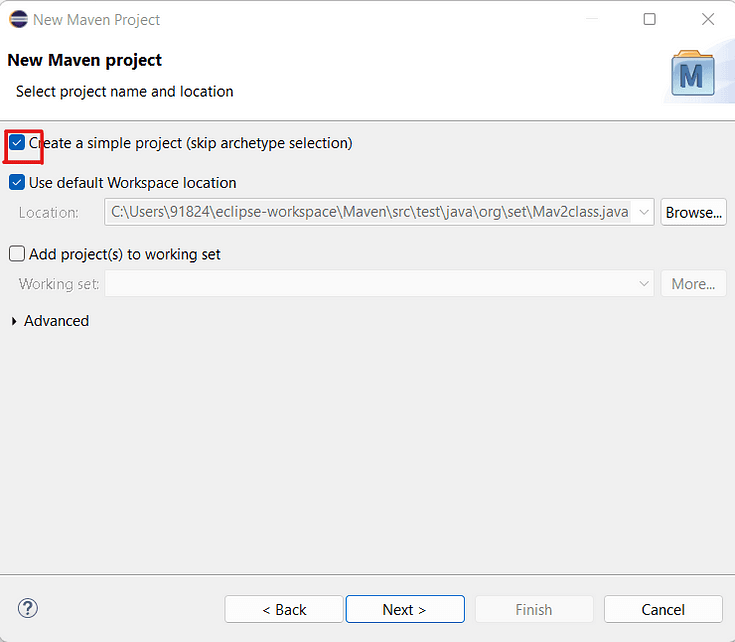
Click the checkbox on Create a simple project and then click Next.
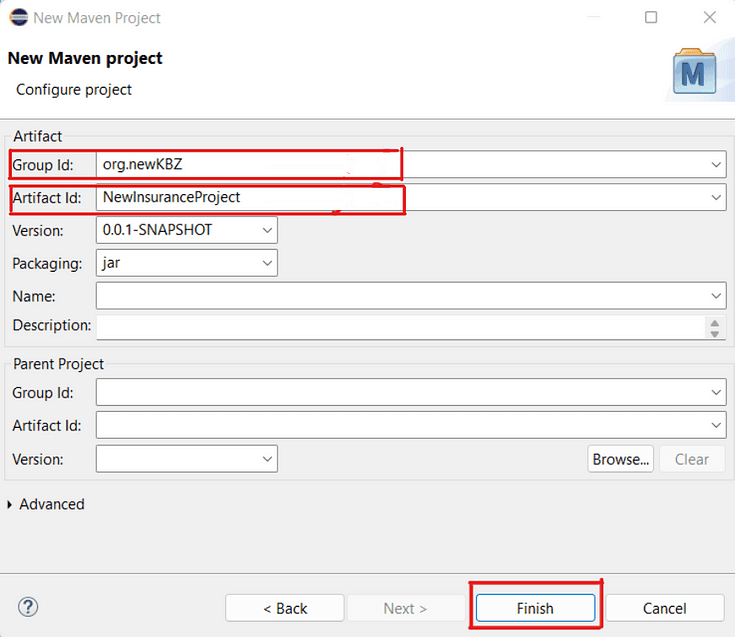
And we need to enter the Group Id and the Artifact Id and click on Finish.
Group Id will identify your project uniquely across all projects, so we need to enforce a naming schema. It has to follow the package name rules, what means that has to be at least as a domain name you control, and you can create as many subgroups as you want.
Artifact Id is the name of the jar without version. If you created it then you can choose whatever name you want with no strange symbols. If it’s a third party jar you have to take the name of the jar as it’s distributed.
Now, On the top left you can see the maven project you have created.
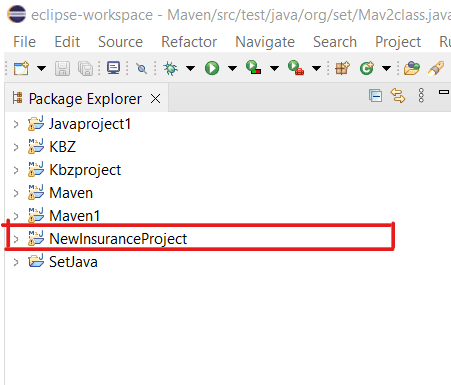
Click on NewInsuranceProject → pom.xml
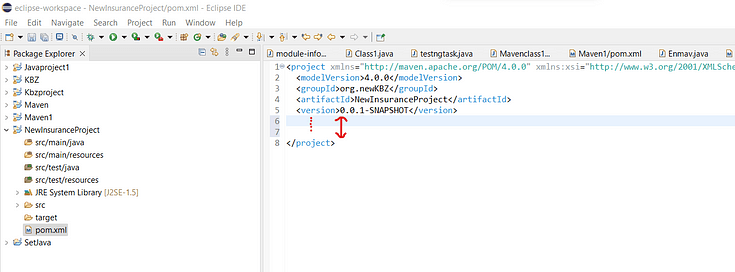
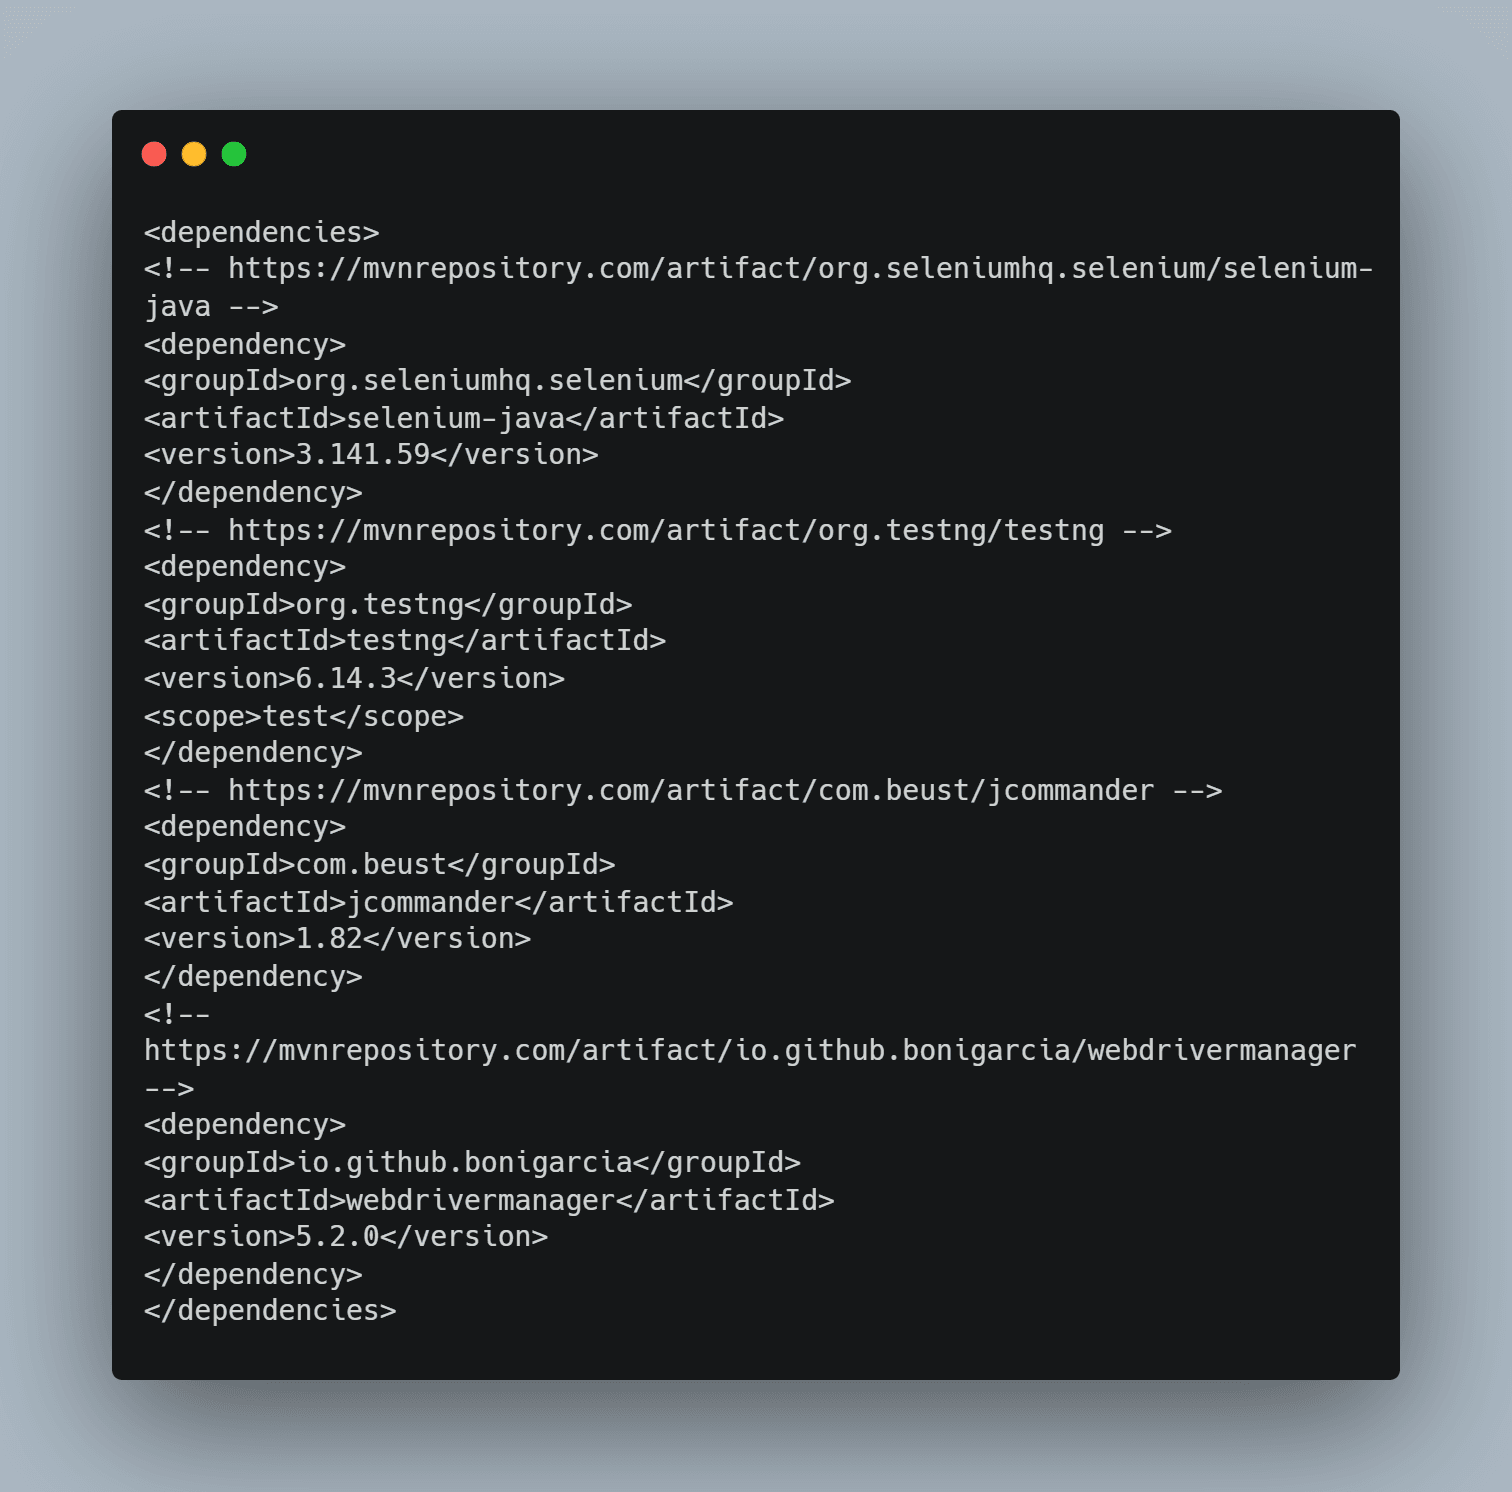
Now you add the below dependencies inside the project in the pom.xml file.
Now the setup is over and it is ready for web automation. We should create package and inside that we can create a class file for writing scripts.
Step1: Crete package
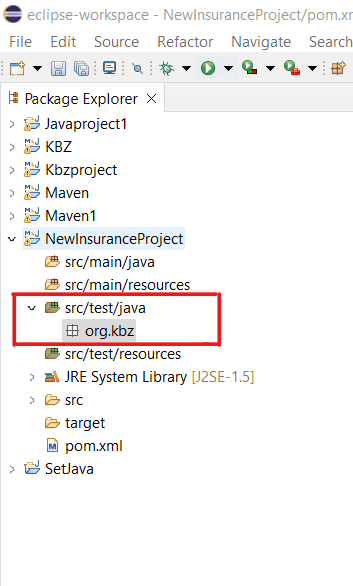
Right click on the src/test/java and click New → package
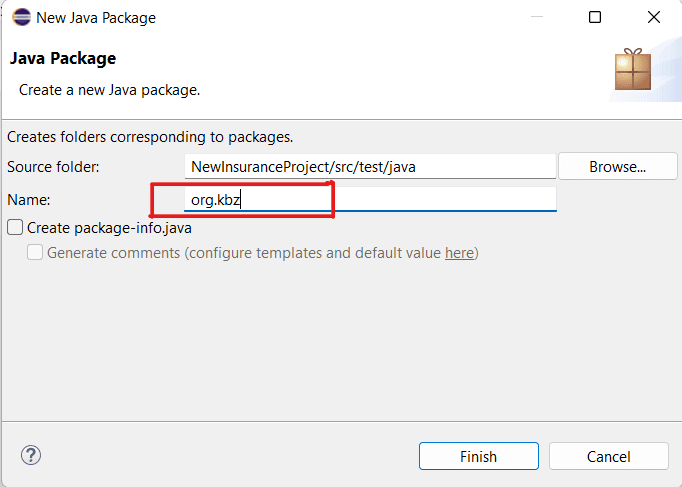
The package name should be in camel case. Then, click on Finish button. In the below image you can see the package created under the src/test/java.
Inside the Package we can have multiple classes. We will create one new class file now.
2) Create class
Right click on the package we have created and click New → class
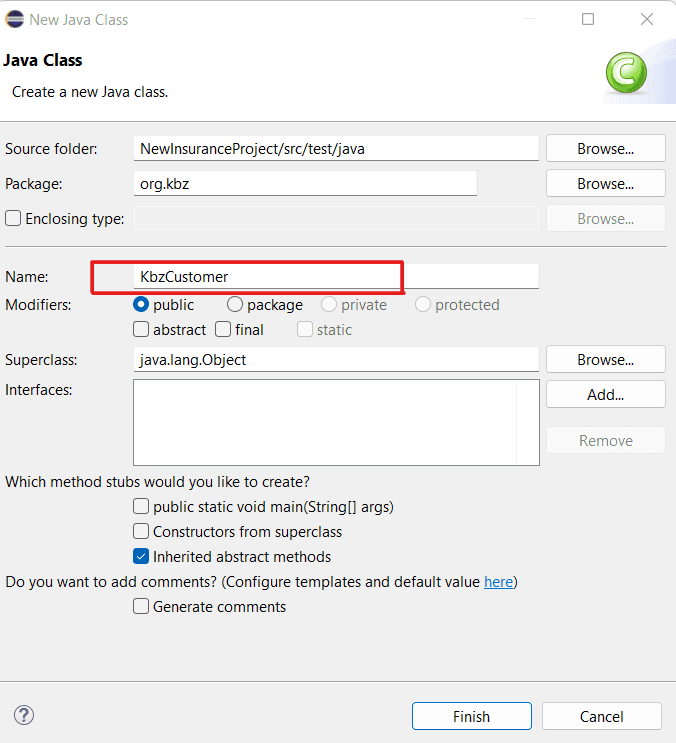
The Class name should be in the Pascal case and click Finish.
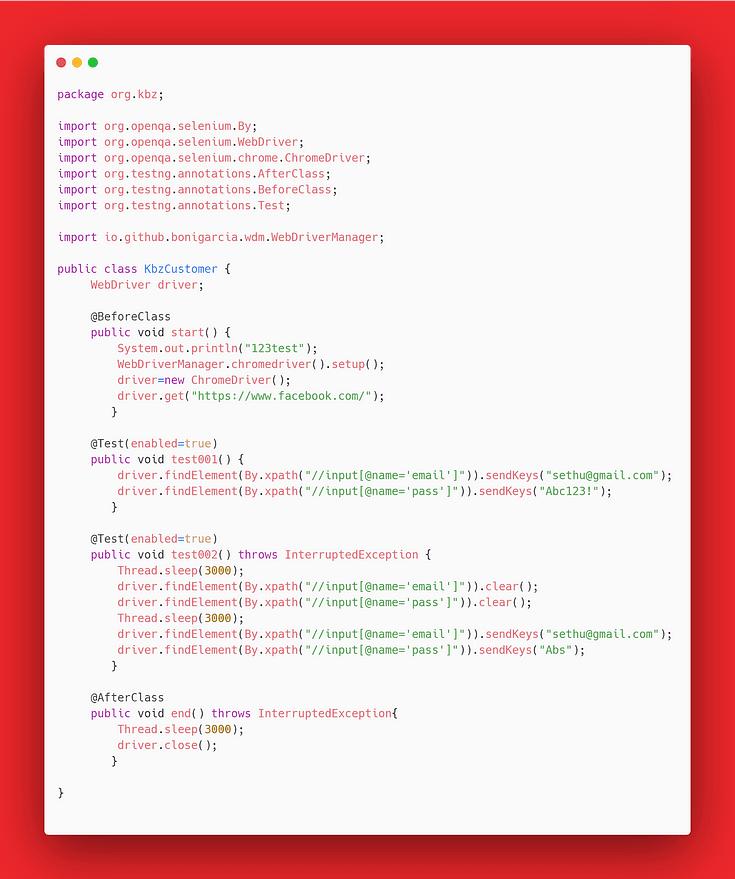
For now you copy the below code and paste it inside your class file. We will first see how it works. Then, We will learn the core concepts in the upcoming articles.
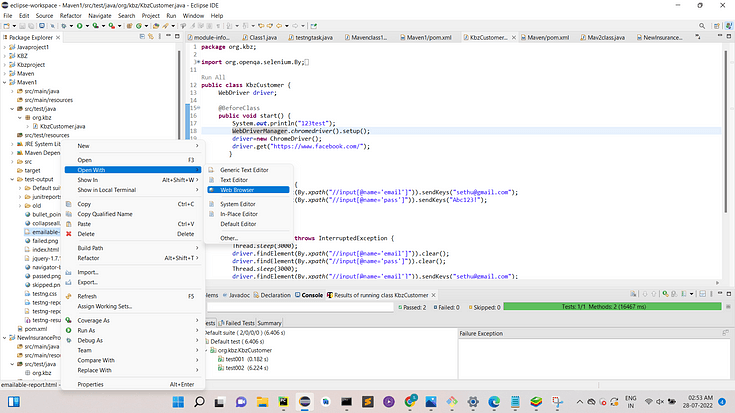
3) Execution of the code
Right click → Run As → TestNG Test
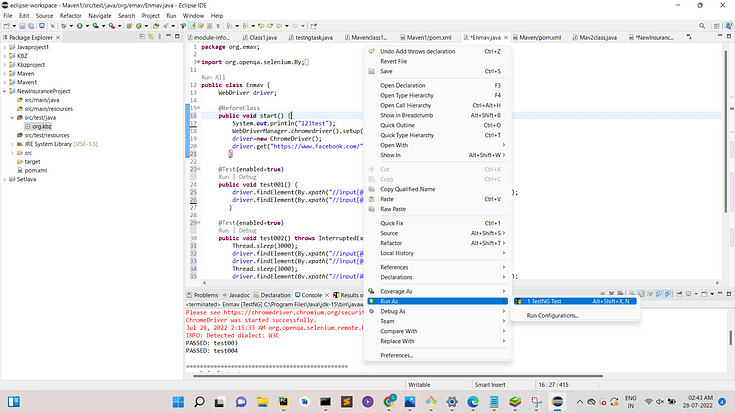
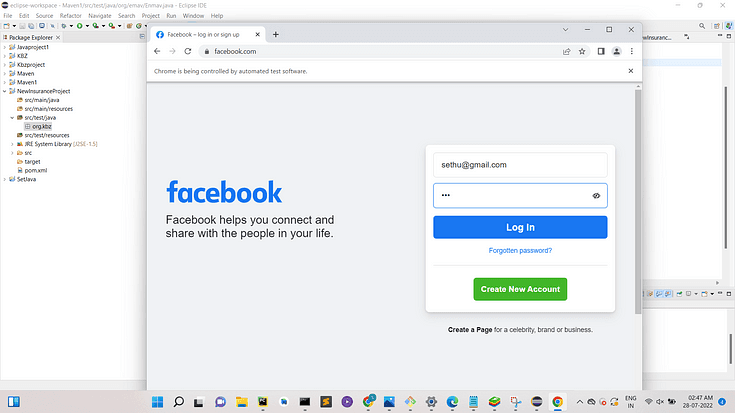
Now the code will get executed and you can see the actions performing in the browser with the help of browser drivers.
4) Reports
Once after the run you should have to refresh the project then you can get the emailable reports from TestNG.
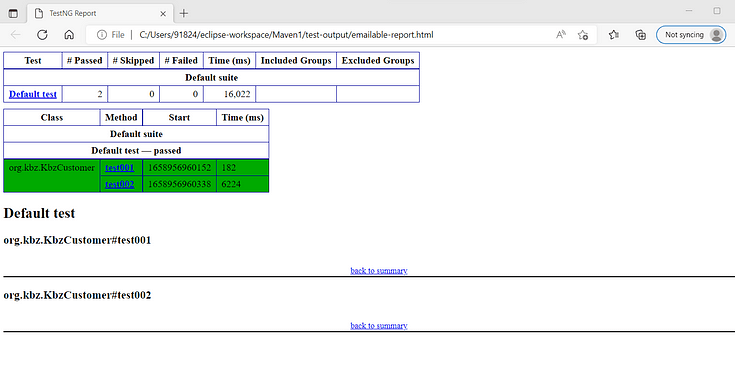
The report will show things like the time taken for execution, Class name, the number of test cases Passed, Failed and skipped. We can use automation for regression run.